
 English

BixiBot
Publié le 30 June 2014
Création d’un indicateur interactif de disponibilité des vélos à une borne libre-service BIXI précise.
Outils
SparkCore, WS2811, NodeRed, Python
Code
https://github.com/natcl/bixibot
Project information
BixiBot is a wall-mounted wooden panel featuring LEDs that show if bikes are available or not at the bike sharing station near my house. There are multiple phone applications that will give you that information but I find it easier and more fun to have the information displayed near my front door.
Hardware
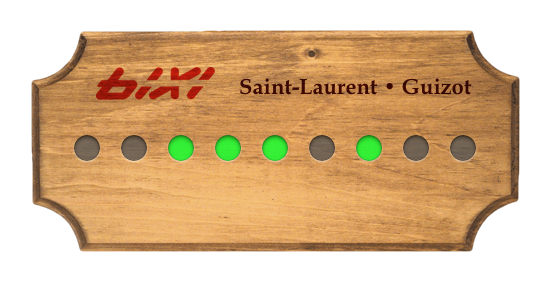
Before building the project I first created a mockup that looked like this:
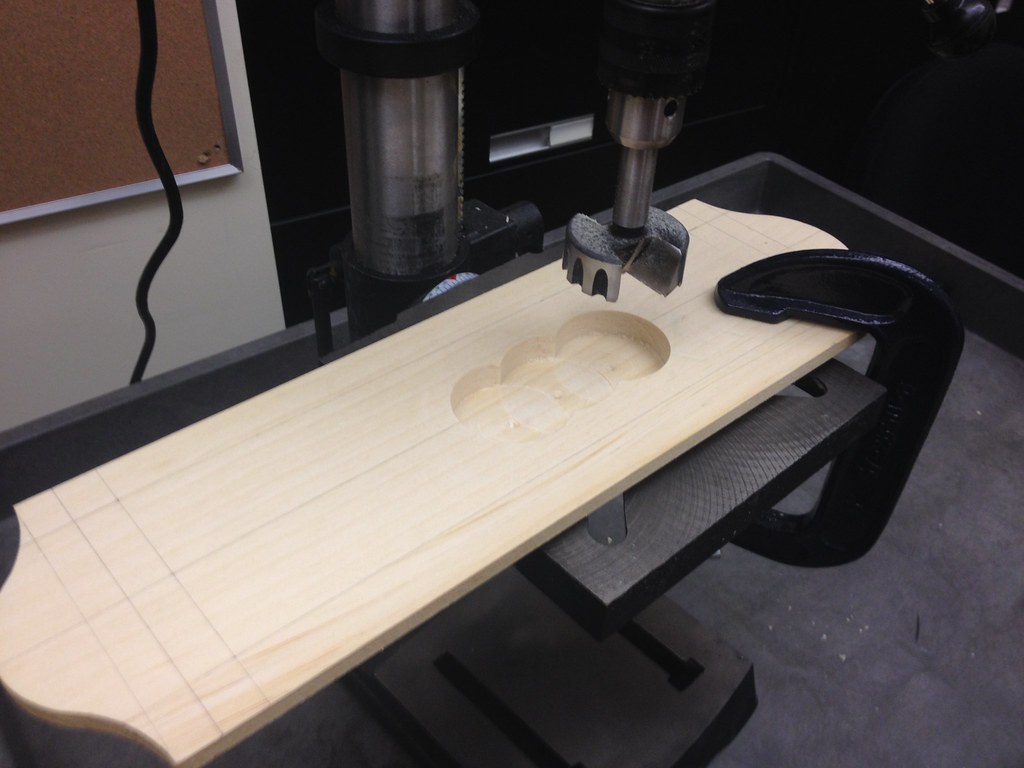
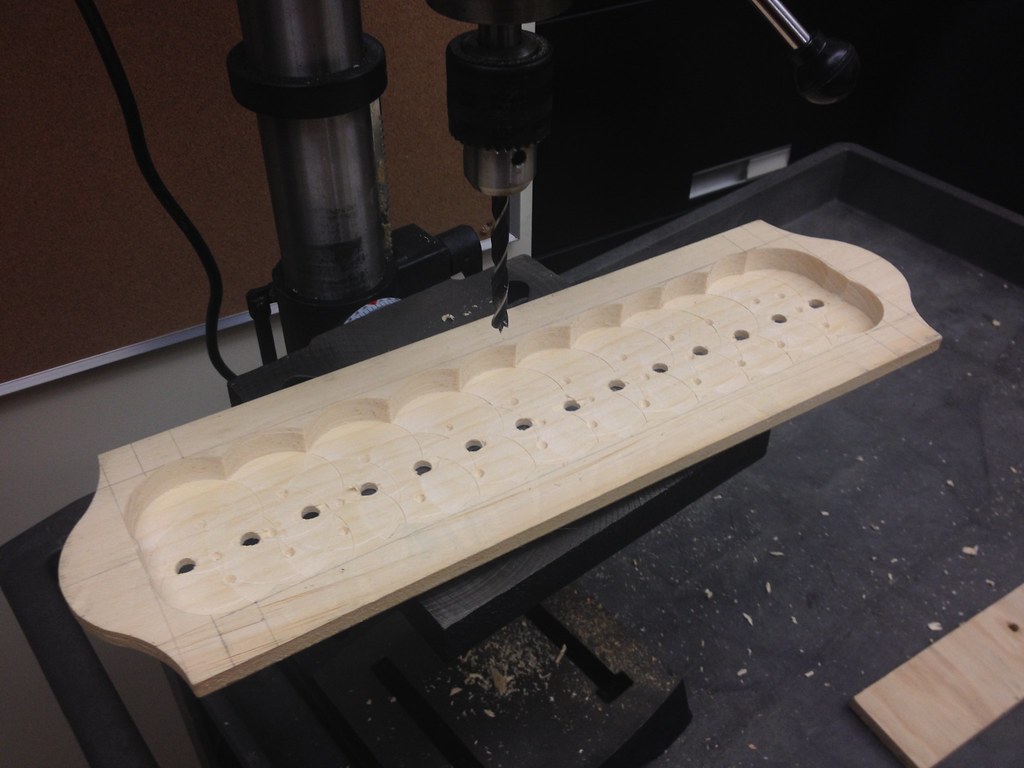
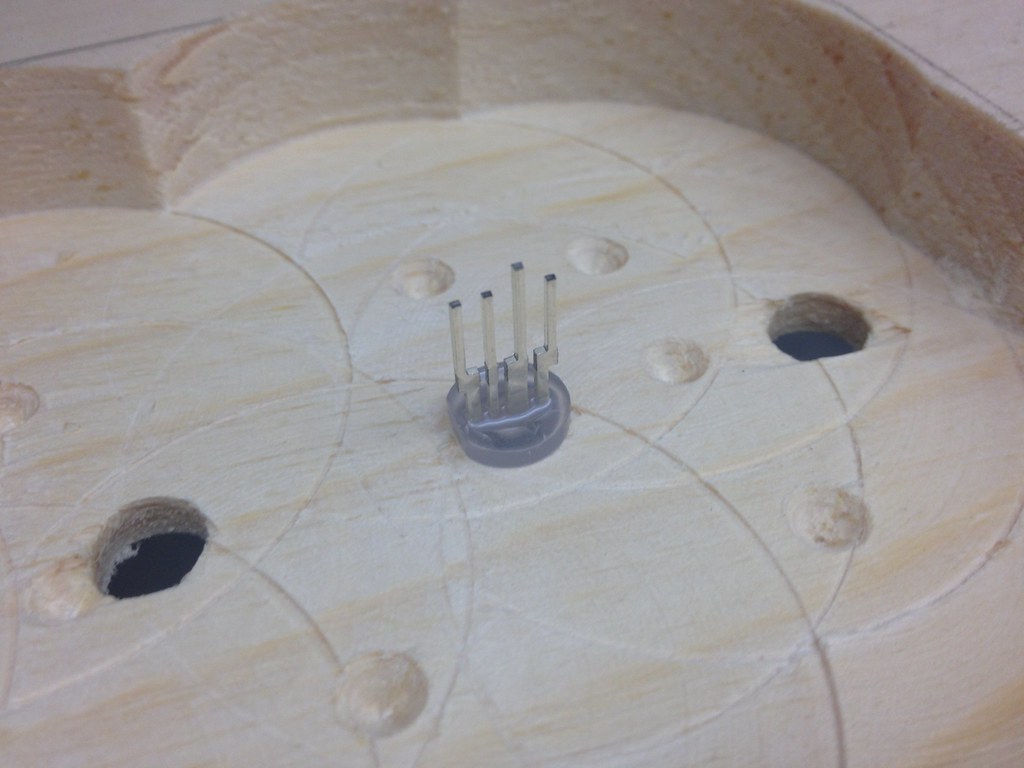
At a local art supply store I found a wooden panel that almost looked like my mockup and was the perfect size. I carved the back of the panel to create space for the electronics using a Forstner drill bit.
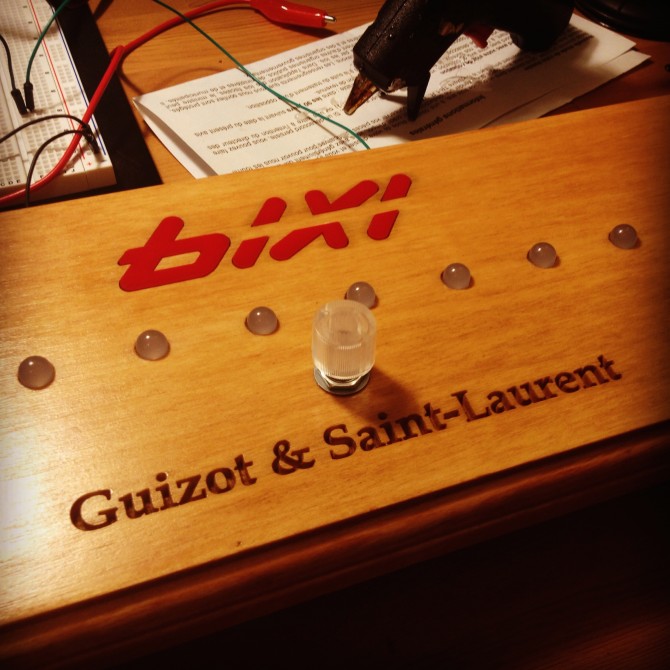
I chose to use 8mm WS2812 based LEDs for the project as they are nice to look at and do not require a diffuser like their 5050 equivalent. At the time these LEDs were quite new and I got one of the first batches from Soldering Sunday.
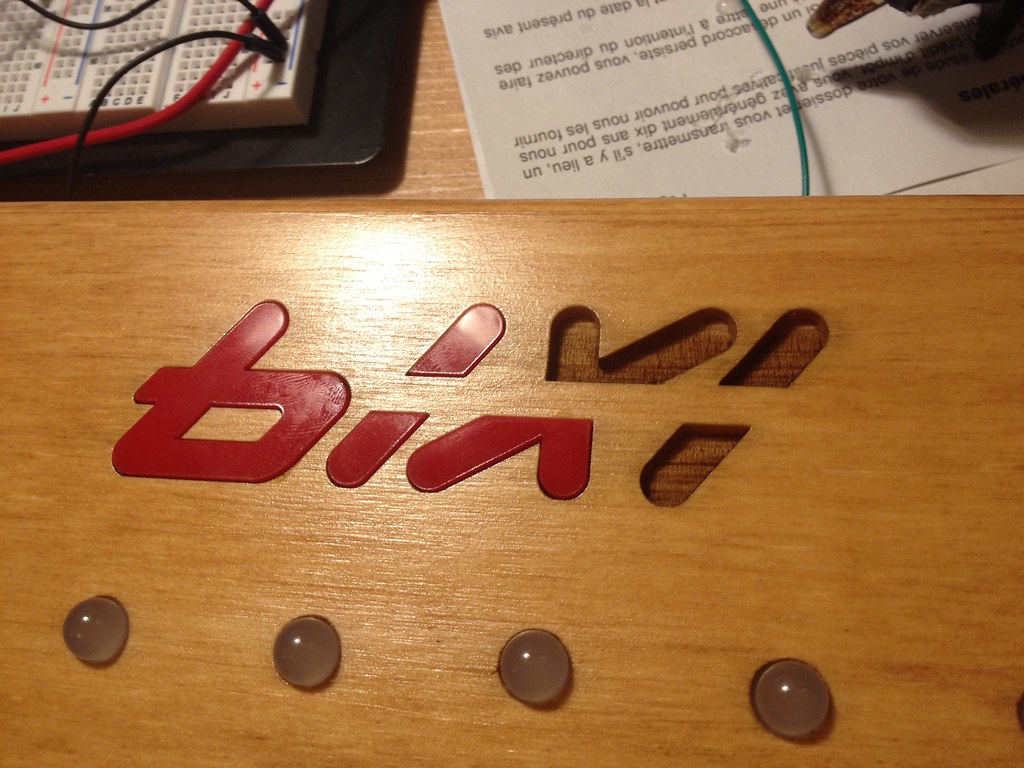
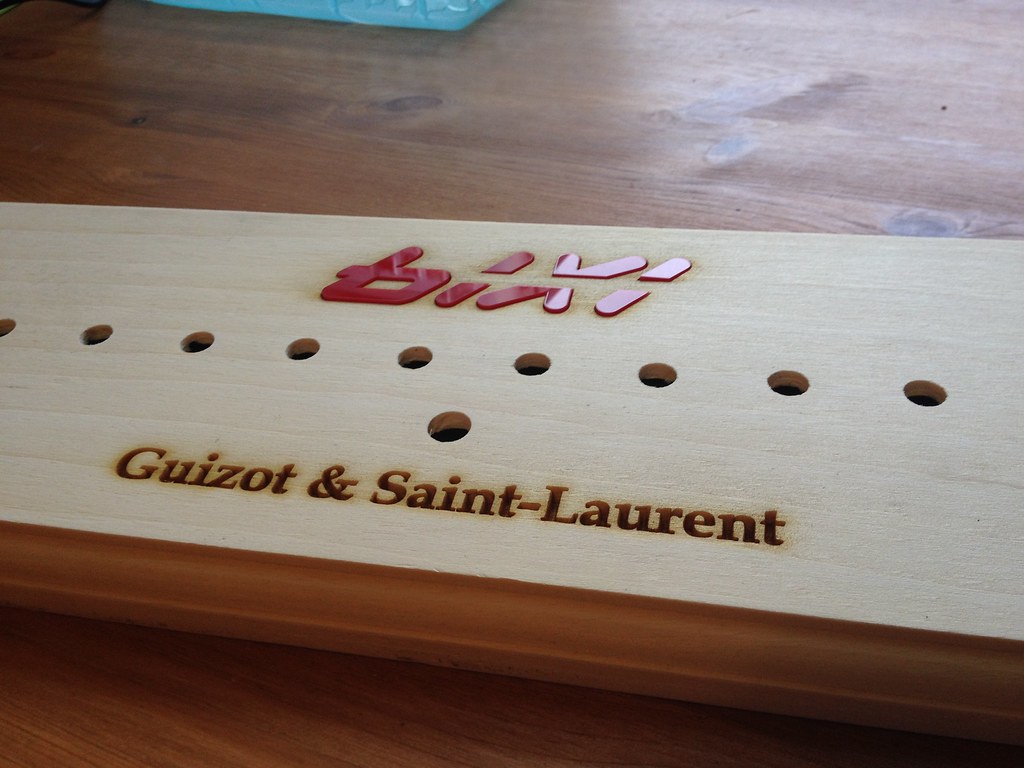
Once the drilling was done I needed to find a way to engrave the Bixi logo and the name of the streets where the station is located. This task being beyond my wood skills, I decided to have it done by a laser shop. I found an SVG version of the Bixi logo and was able to design the panel layout in a vector drawing software. I went to a local laser cutting shop in Montreal called Umake. They were extremely skillful and even proposed to cut the logo in red acrylic for free (as opposed to just engraving it). This way I was able to inset the logo into the panel which looks very neat ! I highly recommend Umake, they really know their way around these huge machines !
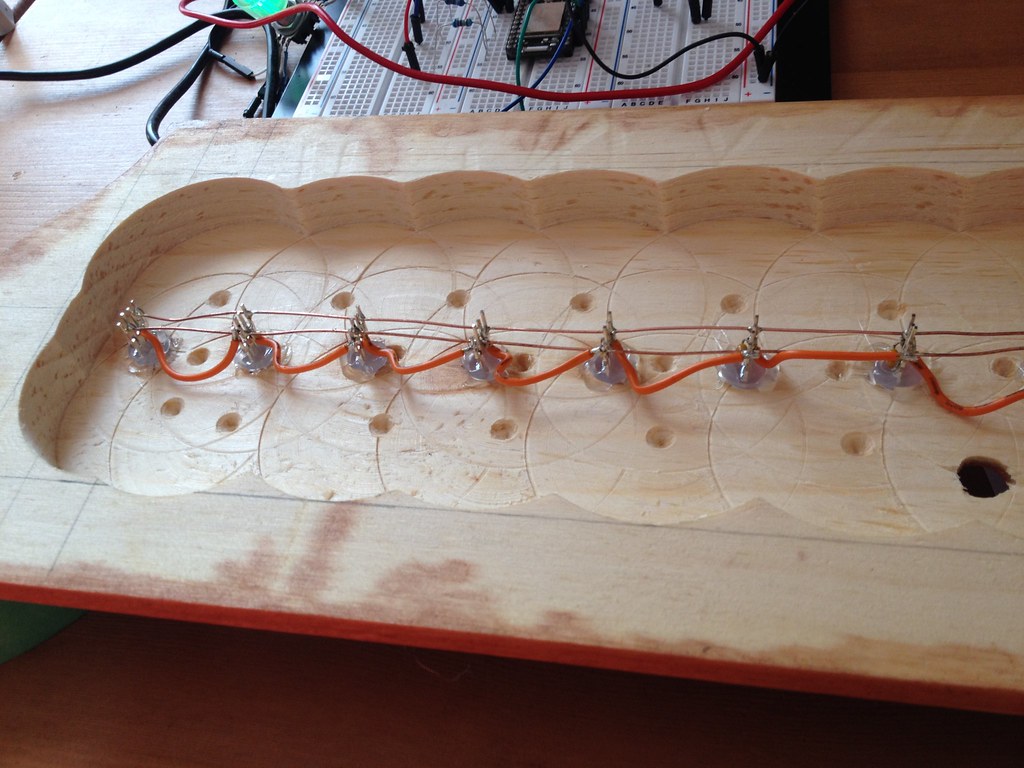
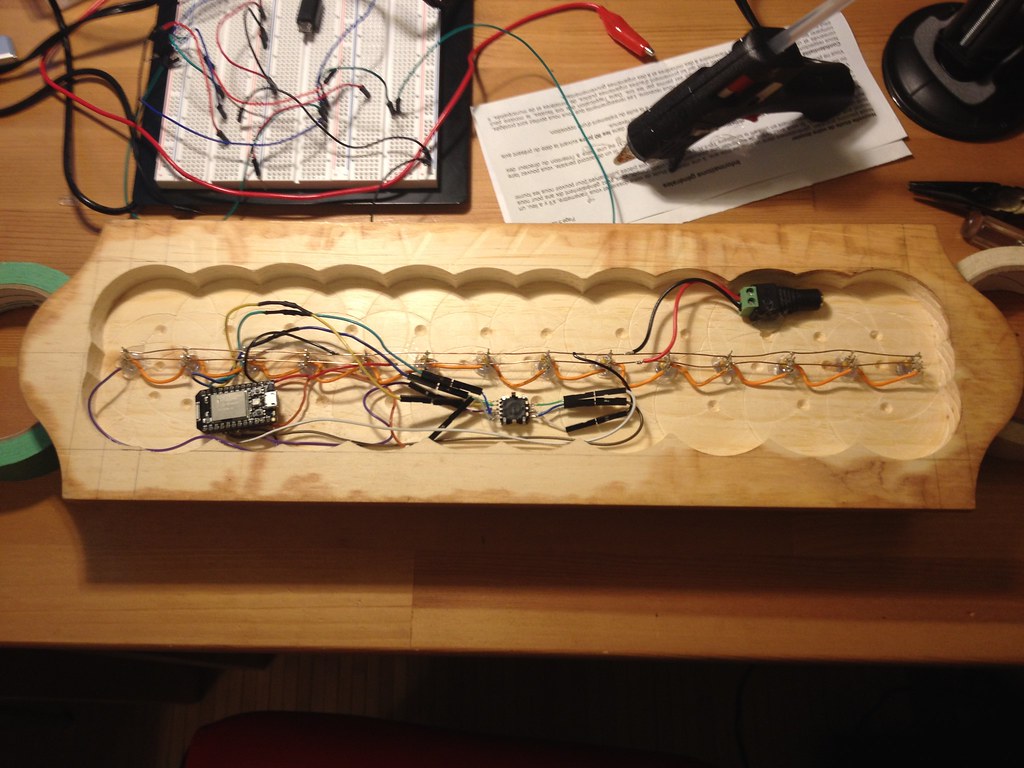
With that being done I proceeded to stain and varnish the panel and was ready to incorporate the electronics. I started with the LEDs which were pushed in the holes and hot glued to prevent them from moving. I soldered the power and ground busses using bare copper wire and soldered the data lines.
I chose the SparkCore for the micro controller so that I could control the panel over WIFI. I originally made an error when drilling my holes and made 14 holes instead of 15 so I decided to add an RGB encoder which acts as the 15th LED and can also trigger some actions.
Software
The data for the bike stations is available as a single big xml file which is not very friendly to parse on a micro controller. For bandwidth reasons I decided to do the parsing using my DigitalOcean web host. I wrote a small web application using the web.py framework. The application parses the number of available bikes and free stations. As the data file doesn’t contain the position of available bikes in the rack, I coded it so that it would return random positions which looks more natural on the panel. Querying http://bixibot.studioimaginaire.com/station returns a json array with the status of each bike. The index corresponds to the position of the bike and the data to the status. 0 means the rack is free, 1 means a bike is in the rack and 2 means the rack is locked or that the bike or rack is broken.
The update of the panel is managed by Node-Red running on a server in my home. I created a flow that gets the json data from my web.py application and then uses the Spark Core web API to update the status. This may sound more complicated than it should but it has the advantage of being more modular. For example, since the bike share program doesn’t work in the winter, I can decide to use another flow in Node-Red to use the panel as a temperature display. This allows me to quickly create flows that can display different kind of information.

I hope you enjoy this project and don’t hesitate to ask questions in the comments !

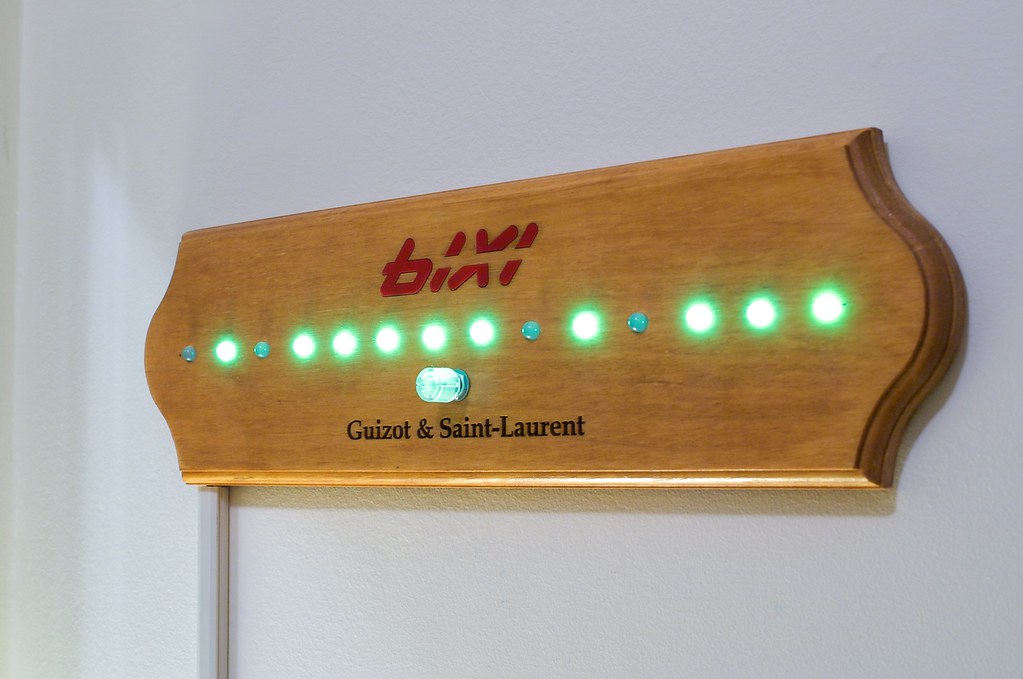
Photo album here.
Soyez le premier à laisser un commentaire